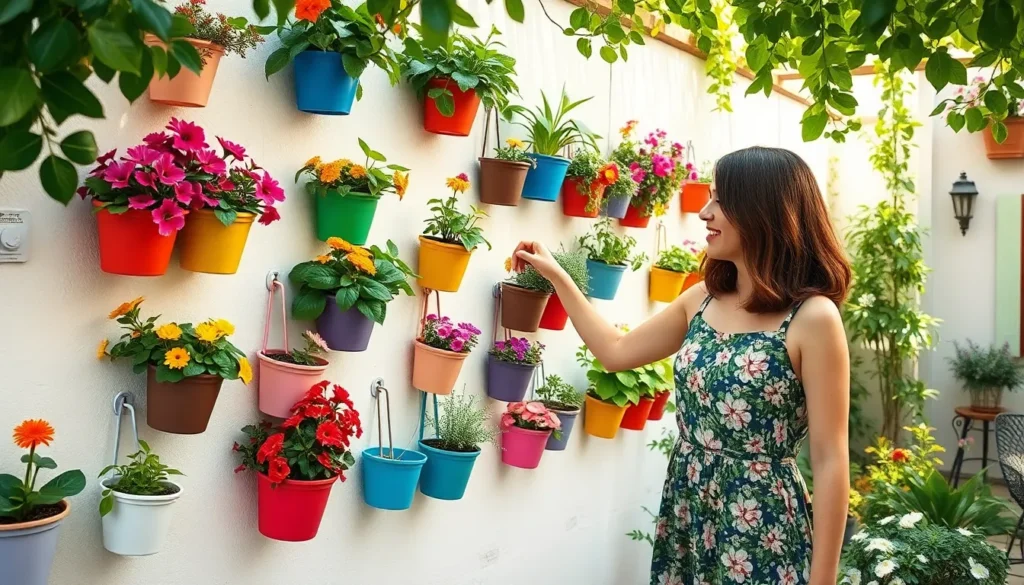
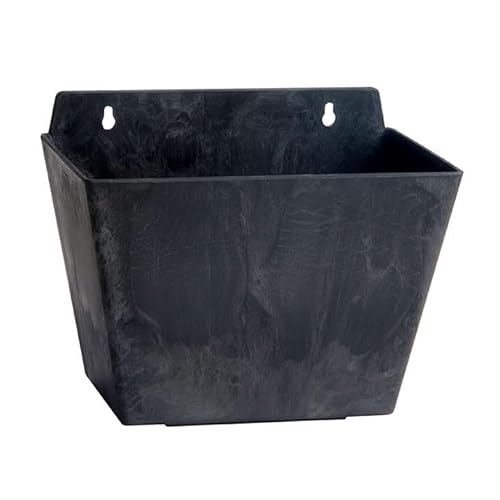
We’ve all felt that familiar pang when staring at bland outdoor walls – they’re crying out for life and color. Wall pots for plants transform these forgotten vertical spaces into stunning living galleries that’ll make your neighbors stop and stare.
Whether you’re working with a tiny balcony or a sprawling patio we know space is precious. That’s where outdoor wall planters become game-changers. They maximize your growing potential without sacrificing floor space and create eye-catching focal points that breathe personality into any outdoor area.
From cascading flowers to fresh herbs within arm’s reach wall-mounted planters offer endless possibilities for creative gardening. We’re diving into everything you need to know about choosing installing and styling these versatile containers to create your own vertical oasis.
Choose the Right Material for Your Outdoor Wall Pots
Selecting the proper material for your outdoor wall pots determines both their longevity and your plants’ health. Weather conditions, maintenance requirements, and aesthetic preferences all play crucial roles in making the best choice for your vertical garden.
Ceramic and Terra Cotta Options
Ceramic wall pots offer exceptional breathability that promotes healthy root development in outdoor plants. These natural materials allow air and moisture to flow through the pot walls, preventing root rot and maintaining optimal soil conditions. Terra cotta varieties excel in hot climates where their porous nature helps regulate soil temperature.
Classic appeal makes ceramic and terra cotta wall planters perfect for Mediterranean, rustic, or traditional garden styles. We recommend choosing glazed ceramic options for areas with frequent rain, as the protective coating prevents water absorption that could lead to cracking during freeze-thaw cycles.
Maintenance for ceramic wall pots requires seasonal attention, particularly in regions with harsh winters. Bringing these planters indoors or providing frost protection extends their lifespan significantly. Weight considerations matter when mounting ceramic pots, as they become substantially heavier when filled with soil and saturated with water.
Weather-Resistant Plastic Varieties
Plastic wall planters deliver unmatched durability against extreme weather conditions while maintaining lightweight portability. Modern UV-resistant formulations prevent fading, cracking, and brittleness that plagued earlier plastic garden containers. High-density polyethylene and polypropylene varieties withstand temperature fluctuations from -40°F to 120°F without structural damage.
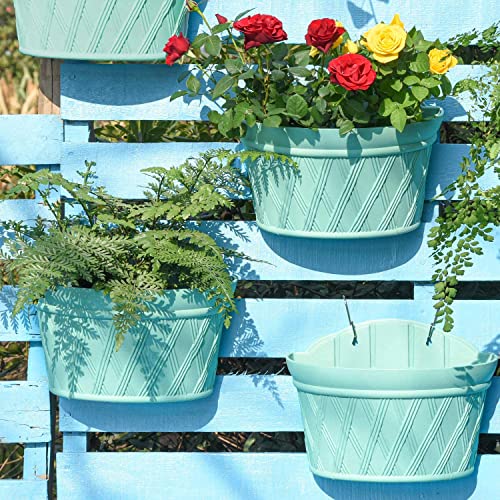
Cost effectiveness makes plastic wall pots ideal for large-scale vertical gardens or budget-conscious gardeners. These containers often feature built-in drainage systems and water reservoirs that simplify plant care. Many plastic varieties now mimic natural materials like stone, wood, or ceramic with realistic textures and colors.
Lightweight construction allows for easy repositioning and reduces mounting hardware requirements. We find plastic wall planters particularly suitable for rental properties where permanent installations aren’t feasible. Environmental considerations favor recyclable plastic options that can be repurposed when replacement becomes necessary.
Metal Wall Planters for Durability
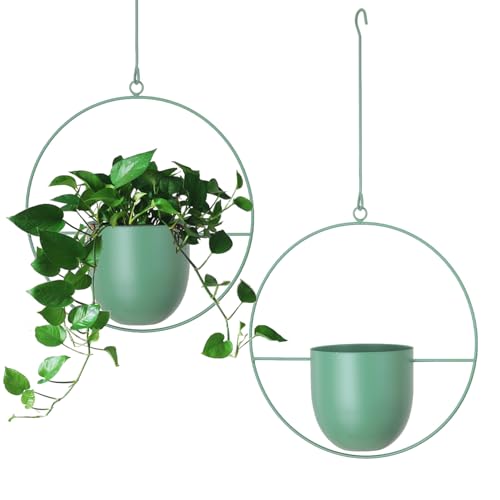
Metal wall planters provide exceptional structural integrity for supporting larger plants and extensive root systems. Powder-coated aluminum and galvanized steel options resist corrosion while maintaining their appearance for decades. Corten steel varieties develop an attractive rust patina that adds industrial charm to modern outdoor spaces.
Heat retention in metal containers can benefit cold-climate gardeners by extending growing seasons and protecting plant roots during temperature drops. Conversely, reflective metal surfaces help prevent overheating in hot climates when positioned strategically. Drainage holes in metal wall pots require careful placement to prevent water staining on walls below.
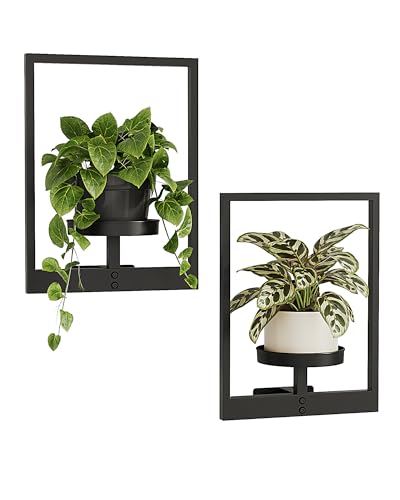
Professional appearance makes metal wall planters suitable for commercial applications, restaurants, and contemporary residential designs. We recommend choosing models with double-wall construction or foam insulation to moderate soil temperature extremes. Stainless steel options offer premium durability for coastal areas where salt air accelerates corrosion in other materials.
Select the Perfect Size for Your Plant Types
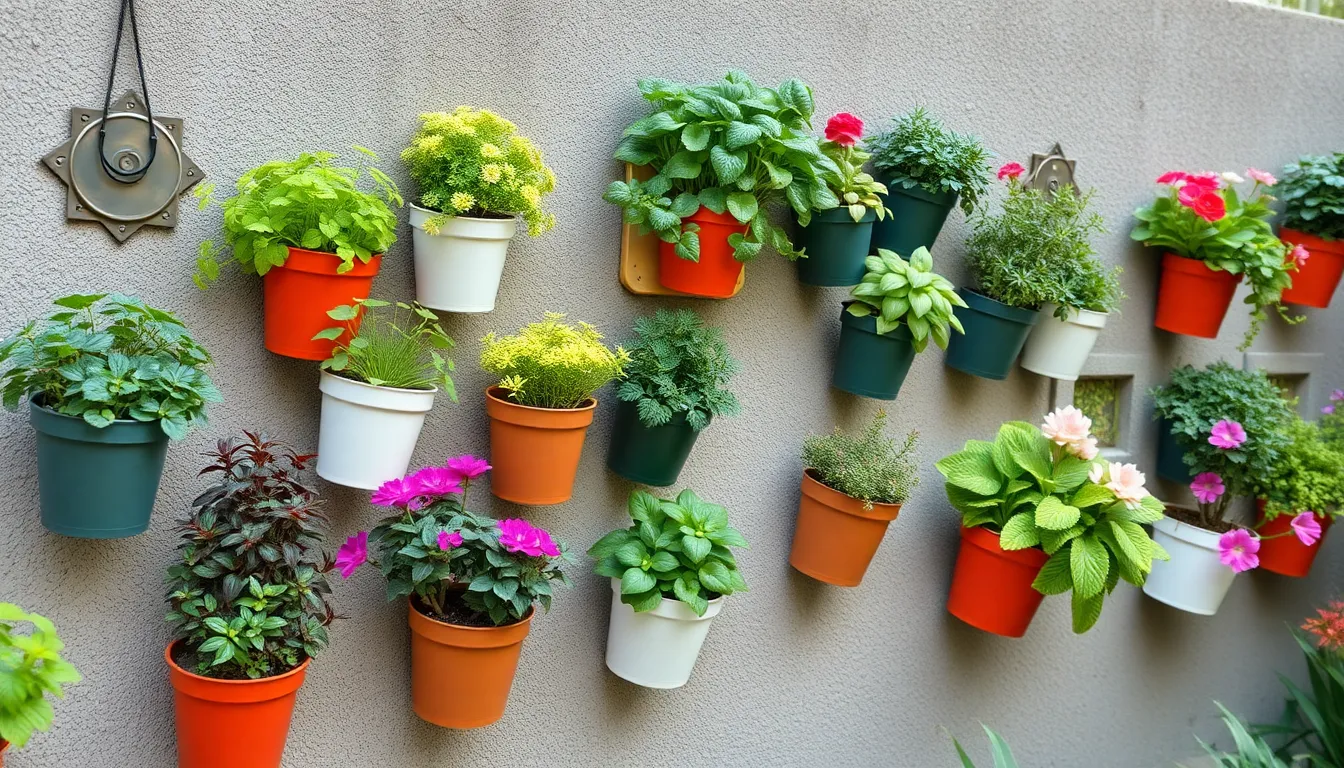
Sizing your outdoor wall pots correctly ensures plant health and creates the visual impact you’re seeking. We’ll guide you through the optimal dimensions for different plant categories to help you make informed decisions.
Small Pots for Herbs and Succulents
Small wall pots holding under 0.31 quarts work perfectly for herbs like basil and mint, plus succulent varieties such as echeveria and jade plants. These compact containers typically measure 4-6 inches in diameter and provide just enough soil volume without creating waterlogged conditions that harm delicate root systems.
Herbs thrive in these smaller spaces because they don’t require extensive root development to produce abundant foliage. Succulents actually prefer the restricted growing environment, as it mimics their natural habitat where resources are limited. We recommend these dimensions for starter plants and seedlings that you plan to transplant later.
Medium Containers for Flowering Plants
Medium sized wall planters ranging from 0.31 to 3.1 quarts accommodate flowering plants like petunias and marigolds, along with small vegetable crops such as lettuce and strawberries. These containers measure approximately 8-12 inches in diameter and strike the perfect balance between root space and moisture control.
Flowering plants need adequate soil volume to support continuous blooming throughout the growing season. Medium containers provide sufficient depth for healthy root expansion while maintaining proper drainage essential for outdoor conditions. We find these sizes work exceptionally well for seasonal rotations and colorful displays.
Large Wall Planters for Statement Greenery
Large planters holding 3.1 to 46.9 quarts support substantial plants like rosemary bushes, dwarf fruit trees, and decorative shrubs that serve as focal points in your vertical garden. These impressive containers measure 14+ inches in diameter, with popular models reaching 24 inches wide to accommodate extensive root systems.
Statement plants require ample soil volume for long term growth and stability when mounted on walls. Large planters offer the depth and width necessary for healthy root development while supporting the weight of mature plants. We always ensure these containers include multiple drainage holes to prevent water accumulation that could damage both plants and mounting structures.
Remember to choose planters at least 2 inches wider than your plant’s current container to allow proper root growth and select lightweight materials like fiberglass or metal for easier wall installation.
Consider Drainage Features in Wall Pots for Plants Outdoor
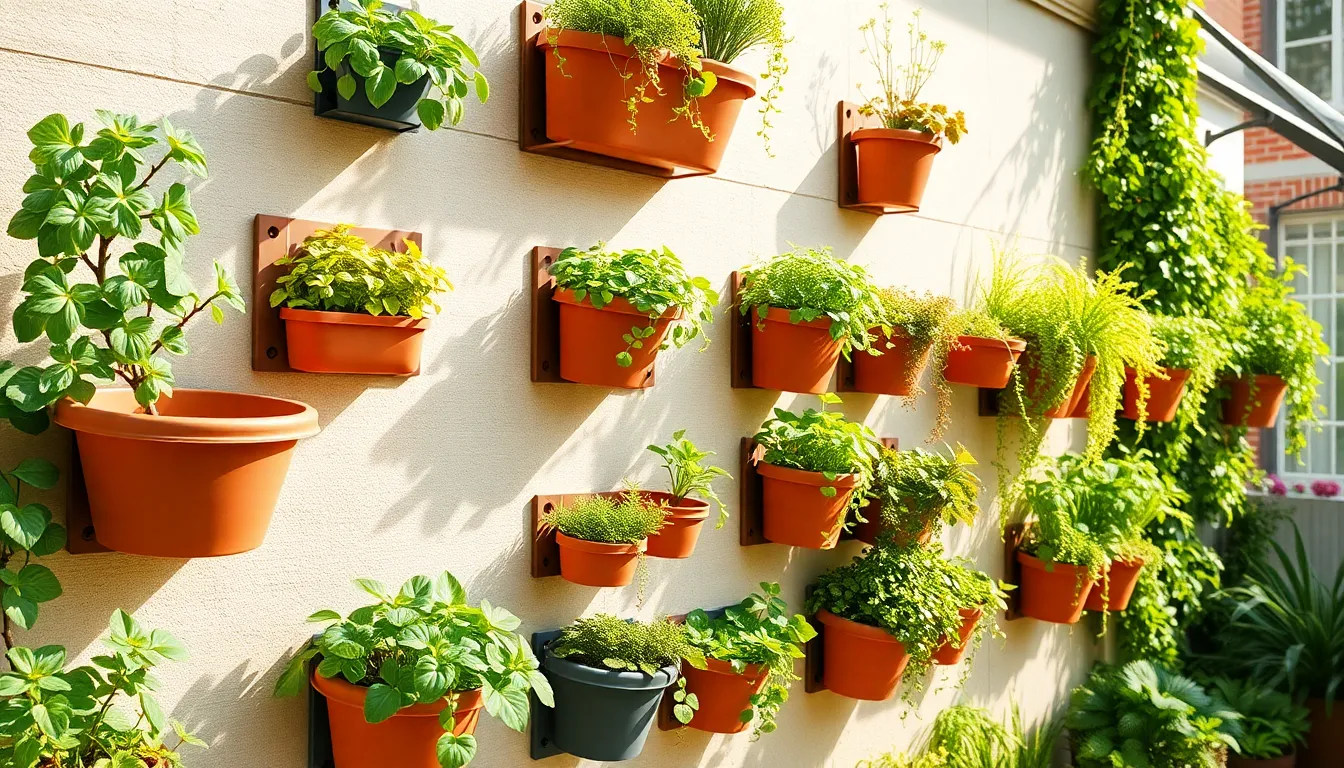
Proper drainage stands as the most critical factor when choosing outdoor wall pots since waterlogged roots can quickly destroy even the healthiest plants. We’ll explore three essential drainage systems that keep your vertical garden thriving in all weather conditions.
Built-in Drainage Holes
Standard drainage holes at the bottom of outdoor wall planters allow excess water to escape freely and prevent root rot development. Most quality outdoor wall planters made from metal, ceramic, or composite materials include these holes as a standard feature to ensure healthy root systems.
Large and medium sized outdoor wall pots from major retailers like Lowes typically feature multiple built-in drainage holes designed specifically for external environments. These holes work effectively in preventing water stagnation that commonly occurs during heavy rainfall or frequent watering cycles.
We recommend checking that drainage holes measure at least 0.5 inches in diameter to provide adequate water flow without allowing soil to escape through the openings.
Removable Liner Systems
Versatile wall pots incorporate removable liners that can be taken out for easier cleaning or replacement while maintaining their own drainage mechanisms. These systems often feature removable drainage plugs that allow the pot to function indoors without drainage to protect surfaces.
Converting these planters for outdoor use requires simply removing the plug to ensure proper water flow and root health. This adaptability proves beneficial in transitional garden setups where pots move between indoor and outdoor locations throughout different seasons.
Professional grade liner systems typically include drainage trays that catch excess water while still preventing root damage from standing moisture.
Self-Watering Wall Planters
Innovative self watering wall planters feature sub irrigated reservoirs that hold water below the soil line and draw moisture up as plants need it. These advanced systems promote consistent hydration without the risk of overwatering that damages sensitive root systems.
Modern self watering models include removable drainage plugs to adapt between indoor and outdoor applications based on seasonal requirements. Weather resistant materials like resin blends ensure these sophisticated planters withstand UV exposure, frost, and waterproof conditions for years of reliable performance.
We find that self watering systems work exceptionally well for busy gardeners who travel frequently or struggle with consistent watering schedules in their outdoor vertical gardens.
Plan Your Wall Mounting Strategy
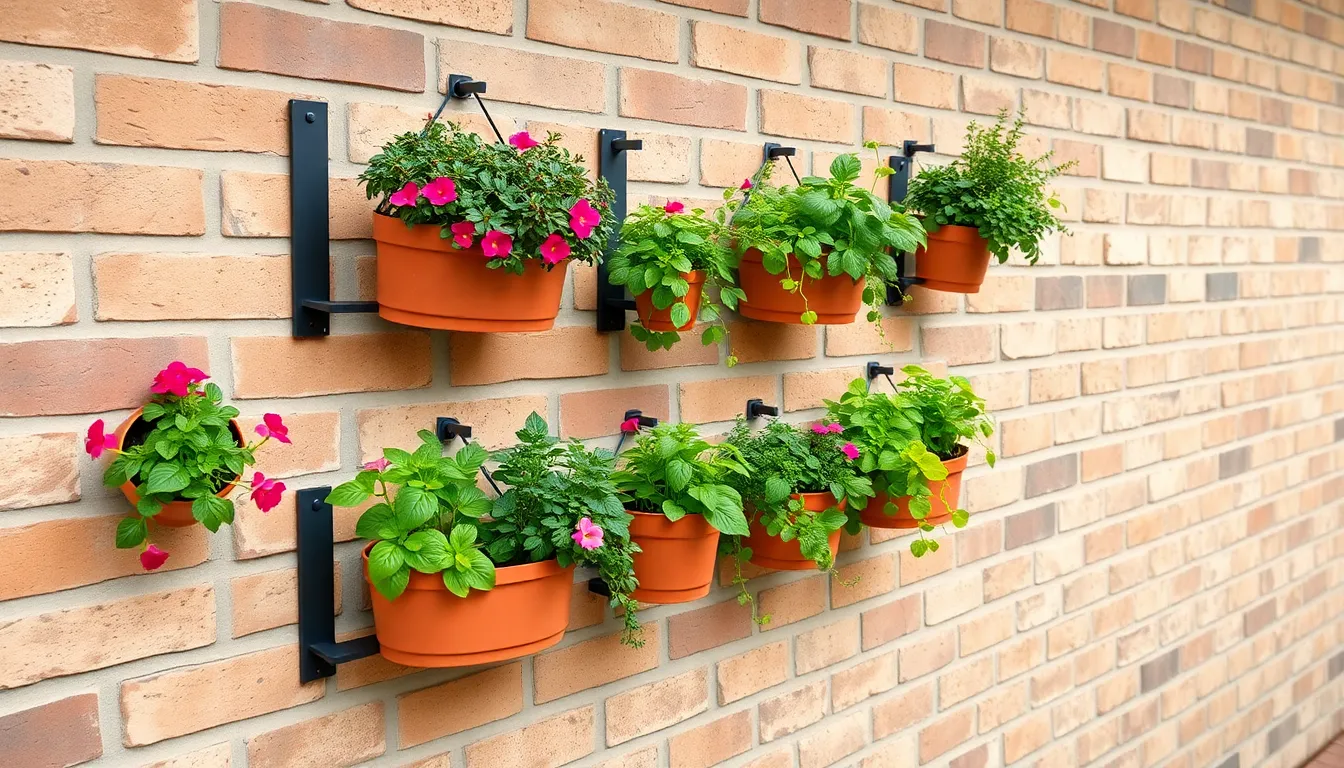
Planning your mounting strategy requires careful consideration of both safety and plant health requirements. We’ll guide you through the essential factors that ensure your wall garden thrives while maintaining structural integrity.
Weight Distribution Considerations
Weight distribution becomes critical once we fill our wall pots with soil and plants. Wall planters gain important weight after adding potting mix, which can stress mounting points beyond their capacity. We recommend selecting lighter weight materials like resin to ease mounting demands and reduce installation risks.
Calculate the combined weight of your planter, soil, and mature plants before installation. Small herbs might add minimal weight, but larger plants like rosemary bushes or dwarf fruit trees can create substantial load on wall hardware. We always account for plants at their full grown size to prevent future mounting failures.
Distribute mounting points evenly across the wall surface to spread weight effectively. Multiple mounting points prevent concentration of stress on single hardware pieces. We space our mounting brackets to create balanced support that protects both the wall structure and our plants.
Wall Type Compatibility
Wall type determines the mounting approach and hardware selection for your outdoor planters. Common wall materials include drywall, brick, concrete, and wood, each requiring exact installation techniques. We match our mounting strategy to the wall material for optimal security and longevity.
Drywall installations require suitable anchors rated for the planter’s total weight. We use high quality twist and lock drywall anchors paired with matching screws for secure fixing without stud support. But, we always locate wall studs with a stud finder for the strongest possible mounting points.
Brick and concrete walls need masonry anchors or specialized screws for proper attachment. These harder materials provide excellent support but require different drilling techniques and hardware. We use masonry bits and appropriate anchors designed specifically for stone and concrete applications.
Heavier ceramic or stone planters require lag screws fixed into studs or masonry. We never attempt to mount substantial planters using only drywall anchors, regardless of their weight rating. Securing at least some mounting points into structural elements ensures long term stability.
Proper Hardware Selection
Proper hardware selection starts with using appropriate screws for your exact planter weight and wall type. Pan head or hex head lag screws work best for heavy ceramic or wall mounted planters that need maximum holding power. We choose hardware rated significantly above our calculated planter weight for safety margins.
High quality drywall anchors paired with matching screws ensure secure fixing without stud support. We select twist and lock style anchors that expand behind the drywall for maximum holding capacity. These anchors work effectively for lighter planters when properly installed with correct pilot holes.
Manufacturer provided anchors can simplify installation while ensuring compatibility. Eco planters come with brackets, screws, and anchors designed specifically for their mounting systems. We prefer using included hardware when available, as it’s engineered for that particular planter’s requirements.
Always use a drill with the correct size bit for pilot holes and anchors. Proper pilot hole size prevents wall damage during installation and ensures anchors seat correctly for maximum holding power. We verify bit sizes against anchor specifications before drilling to avoid installation problems.
Design Vertical Garden Arrangements
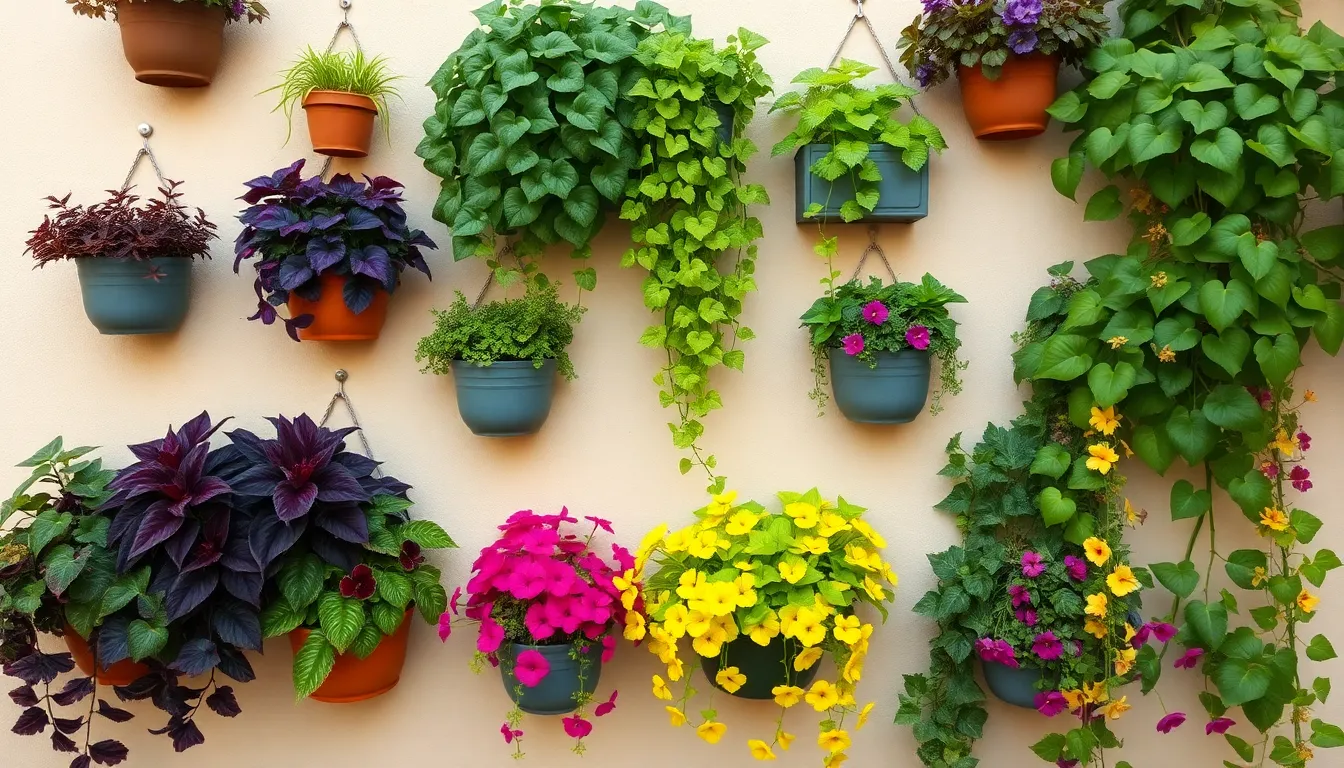
Now that we’ve covered mounting strategies, let’s transform our wall space into a stunning vertical garden that maximizes every square inch while creating visual drama.
Creating Cascading Plant Displays
Stagger pot heights across your wall to achieve a natural waterfall effect that draws the eye downward. Position larger containers at the top of your arrangement and gradually decrease sizes as you move toward the bottom, creating depth and movement in your vertical garden.
Layer trailing plants like ivy, string of pearls, and trailing petunias at different levels to establish flowing connections between individual pots. These cascading species naturally bridge gaps between planters, creating a cohesive living tapestry that softens hard wall surfaces.
Mix container shapes by combining round pots with rectangular trough style planters to accommodate various root systems while adding geometric interest. Wire baskets lined with coconut fiber work exceptionally well for trailing plants, allowing roots to breathe while supporting vigorous growth patterns.
Position drainage carefully in upper containers to prevent water from dripping onto lower plants or creating slip hazards below. Trough style planters with built in drainage holes offer the best solution for cascading arrangements since they distribute water evenly along their length.
Color Coordination Techniques
Group complementary foliage by pairing plants with contrasting leaf colors like deep purple coleus with bright chartreuse sweet potato vine. This technique creates natural focal points throughout your vertical arrangement without relying solely on flowering plants for visual impact.
Balance warm and cool tones using the classic purple and yellow color combination through plants like purple petunias paired with golden marigolds. These contrasting flower colors create vibrant displays that remain visually appealing from a distance.
Develop monochromatic schemes with varying shades of green foliage punctuated by strategic splashes of bright florals in a single color family. This approach provides cohesive elegance while allowing individual plant textures to shine through the unified color palette.
Incorporate texture variety by mixing broad leafed plants with fine textured species and spiky succulents to add depth without overwhelming your color scheme. Different leaf shapes and surface textures create visual interest even when working within a limited color range.
Seasonal Planting Schemes
Rotate flowering species throughout the growing season to maintain continuous color and prevent overcrowding in your vertical garden. Spring installations favor cool weather bloomers like pansies and primrose, while summer heat calls for petunias and marigolds that thrive in intense sunlight.
Plan autumn transitions by introducing ornamental cabbage and hardy mums that provide rich colors as temperatures drop and summer annuals fade. These plants offer extended seasonal interest while bridging the gap between summer abundance and winter dormancy.
Incorporate winter hardy plants like evergreen succulents, rosemary, and other hardy herbs that maintain structure and color during cold months. These plants ensure your vertical garden remains attractive year round rather than becoming an empty wall display.
Schedule seasonal replacements by preparing new plants in advance and timing installations to coincide with optimal growing conditions for each species. This proactive approach prevents gaps in your display while ensuring each plant establishes successfully in its preferred climate window.
Maintain Your Outdoor Wall Garden
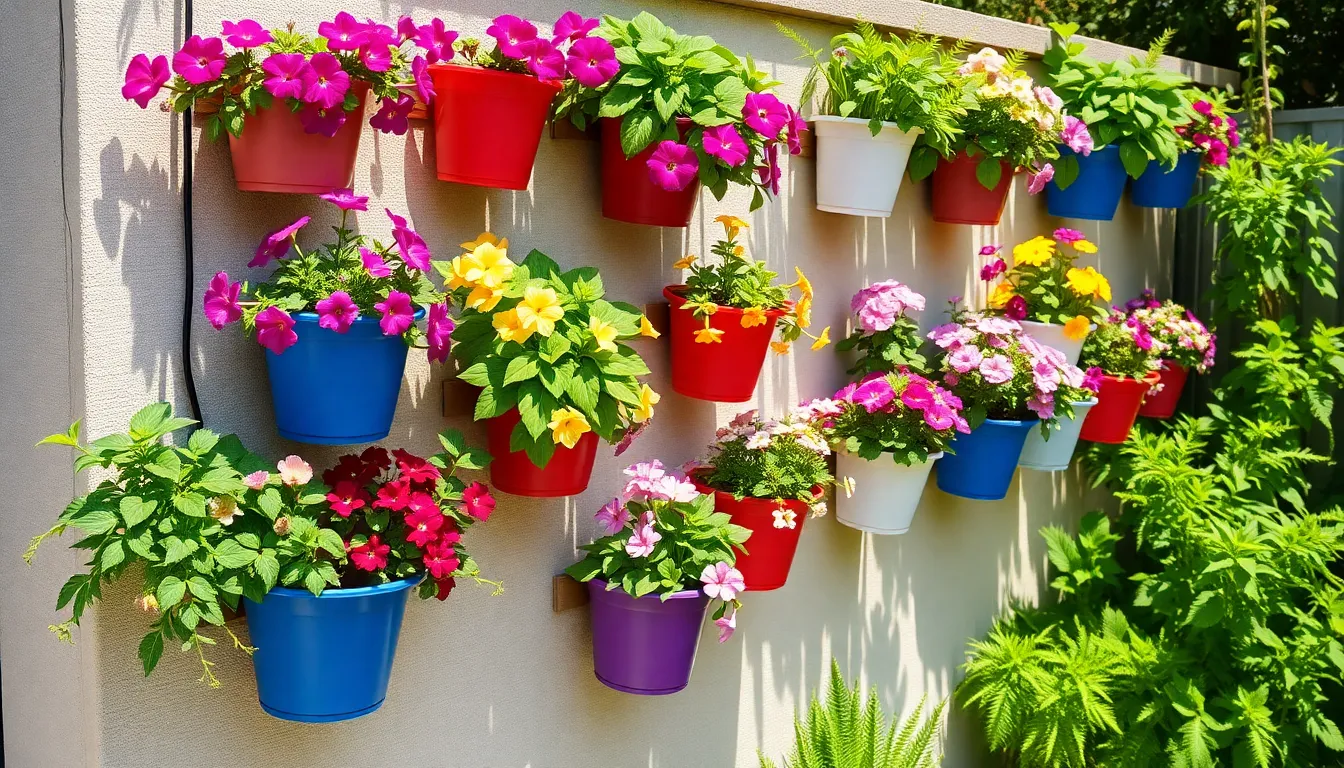
Successful wall gardens require consistent care to thrive in their elevated environment. We’ll guide you through the essential maintenance practices that keep your vertical display flourishing year round.
Watering Schedule Management
Check soil moisture daily by testing the surface with your finger – when it feels dry to the touch, it’s time to water thoroughly. Wall mounted containers dry out faster than ground level planters because they receive more air circulation and sun exposure throughout the day.
Water until drainage occurs from the bottom holes to ensure moisture reaches all root levels and prevents shallow root development. Morning watering works best since it allows plants to absorb moisture before the day’s heat while avoiding overnight dampness that can cause fungal diseases.
Expect increased frequency during warm weather when you might need to water once or twice daily, especially during heat waves. Creating clusters of wall pots helps generate mutual shade and higher humidity levels that reduce water stress on individual plants.
Apply mulch to the soil surface in each container to minimize moisture loss, though remember that plants lose most water through their leaves rather than soil evaporation.
Fertilizing Wall-Mounted Plants
Start with slow release granular fertilizer mixed directly into your potting soil during initial planting to provide steady nutrition over several months. Container plants exhaust soil nutrients much faster than garden plants since they can’t access additional soil resources.
Supplement every two to three weeks with water soluble liquid fertilizer diluted to half strength after the first month of growth. This approach delivers quick nutrition that plants can immediately absorb through their root systems.
Adjust feeding schedules based on your exact plant types and seasonal growth patterns – most plants require more frequent feeding during active growing periods in spring and summer. Reduce fertilizing frequency during fall and winter when plant growth naturally slows.
Seasonal Care and Protection
Protect from waterlogging during wet seasons by temporarily moving containers under covered areas or applying breathable frost protection like biodegradable fleece. Excessive moisture combined with cool temperatures can damage root systems in wall mounted planters.
Refresh soil annually or repot plants every few years to maintain healthy root development, particularly important for shrubs and trees that remain in containers long term. Dense, soggy compost impairs proper drainage and root aeration over time.
Prune regularly to remove dead, damaged, or leggy growth that detracts from your wall garden’s appearance while promoting healthy new development. Monitor for common outdoor pests like aphids and spider mites that often target plants in exposed locations.
Plan seasonal transitions by gradually acclimating plants to temperature changes and replacing seasonal varieties to maintain continuous color and interest throughout the year.
Install Wall Pots Safely and Securely
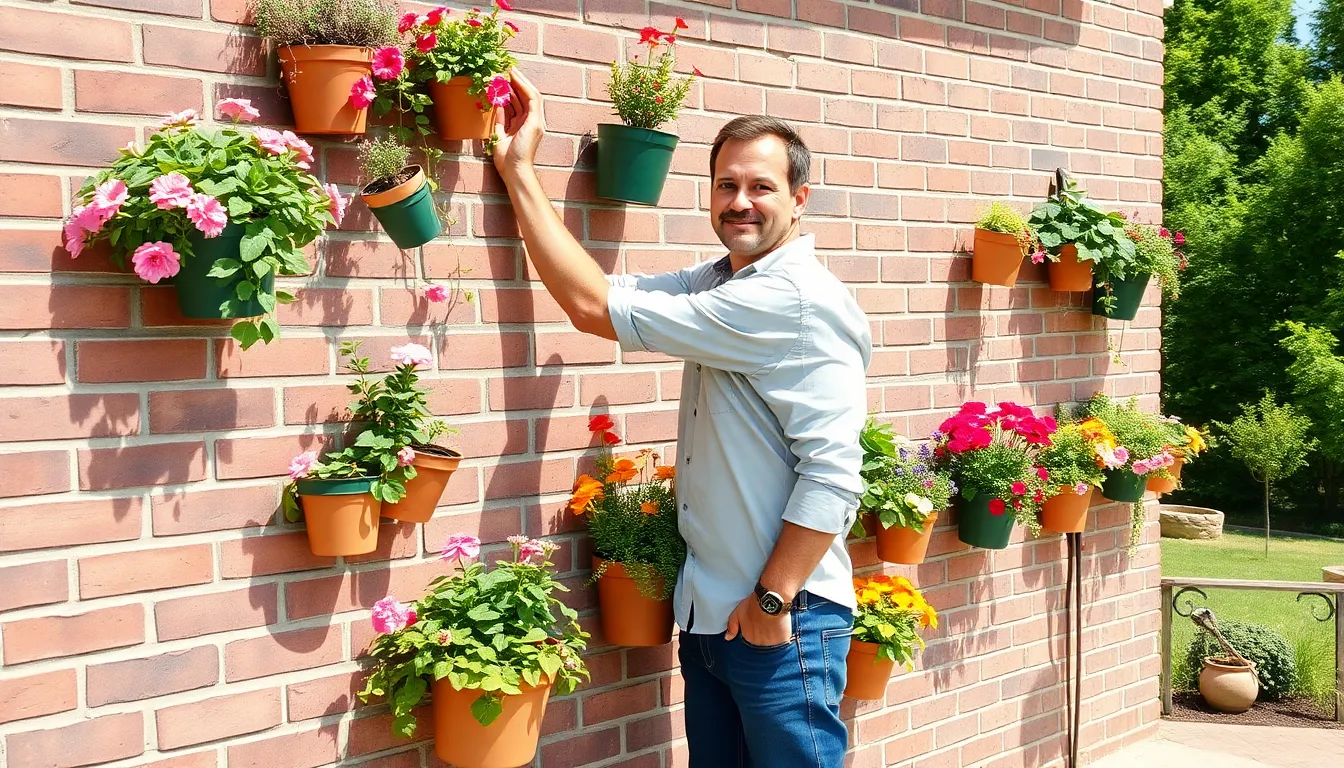
Proper installation ensures your vertical garden remains secure while protecting both your plants and property. We’ll guide you through the essential steps to mount your outdoor wall pots with confidence.
Mark and Measure Installation Points
Determine exact mounting locations before drilling any holes in your wall surface. We recommend using a pencil to clearly mark each installation point where your wall pots will hang. Careful measurement becomes crucial when installing multiple containers to achieve even spacing and proper visual alignment.
Calculate spacing distances between each planter based on your plants’ mature size and growth patterns. Wall studs typically appear every 16 inches apart, so we suggest planning your layout accordingly for maximum structural support. Multiple pot installations require consistent measurements to create the balanced vertical garden arrangement you’ve designed.
Double check your marked points using a level tool to ensure straight horizontal lines across your wall surface. We find that taking extra time during this planning phase prevents costly mistakes and ensures your finished installation looks professionally executed.
Use Appropriate Fasteners
Select wall exact hardware based on your mounting surface type and weight requirements. We recommend pan head or hex head lag screws for drywall installations, especially when you’re not attaching directly into wall studs. Drywall anchors become necessary when studs aren’t available at your desired mounting locations.
Choose concrete anchors or specialized masonry screws for brick, stone, or concrete wall surfaces. These materials require different fastening approaches than standard drywall to achieve maximum holding power. We always prioritize fixing screws directly into wall studs whenever possible for superior weight capacity and long term stability.
Consider alternative mounting methods like strong adhesive tapes such as Gorilla Mounting Tape for lightweight planters on clean, dry surfaces. But, we caution that adhesive answers provide less security than traditional screw fasteners for heavier pot installations. Power drills with appropriate drill bits (like 1/4 inch for standard planters) make installation easier and more precise.
Test Weight Capacity Before Planting
Hang empty planters first to verify that your fasteners and wall support can handle the full weight load. We strongly recommend testing installation stability before adding soil, plants, and water to your containers. This preliminary check allows you to identify and correct any mounting issues without risking plant damage.
Calculate total weight capacity by considering the combined mass of your planter, potting soil, mature plants, and retained water after watering. Wall mounted containers become significantly heavier once fully planted and watered. We suggest testing with temporary weights that match your expected final load.
Verify mounting stability by gently applying pressure to each installed planter from different angles. Properly installed wall pots shouldn’t move, sag, or show signs of loosening under normal handling. We recommend choosing mounting locations that receive adequate sunlight for your plants while ensuring the wall can handle moisture from regular watering activities.
Choose Plants That Thrive in Wall Pots
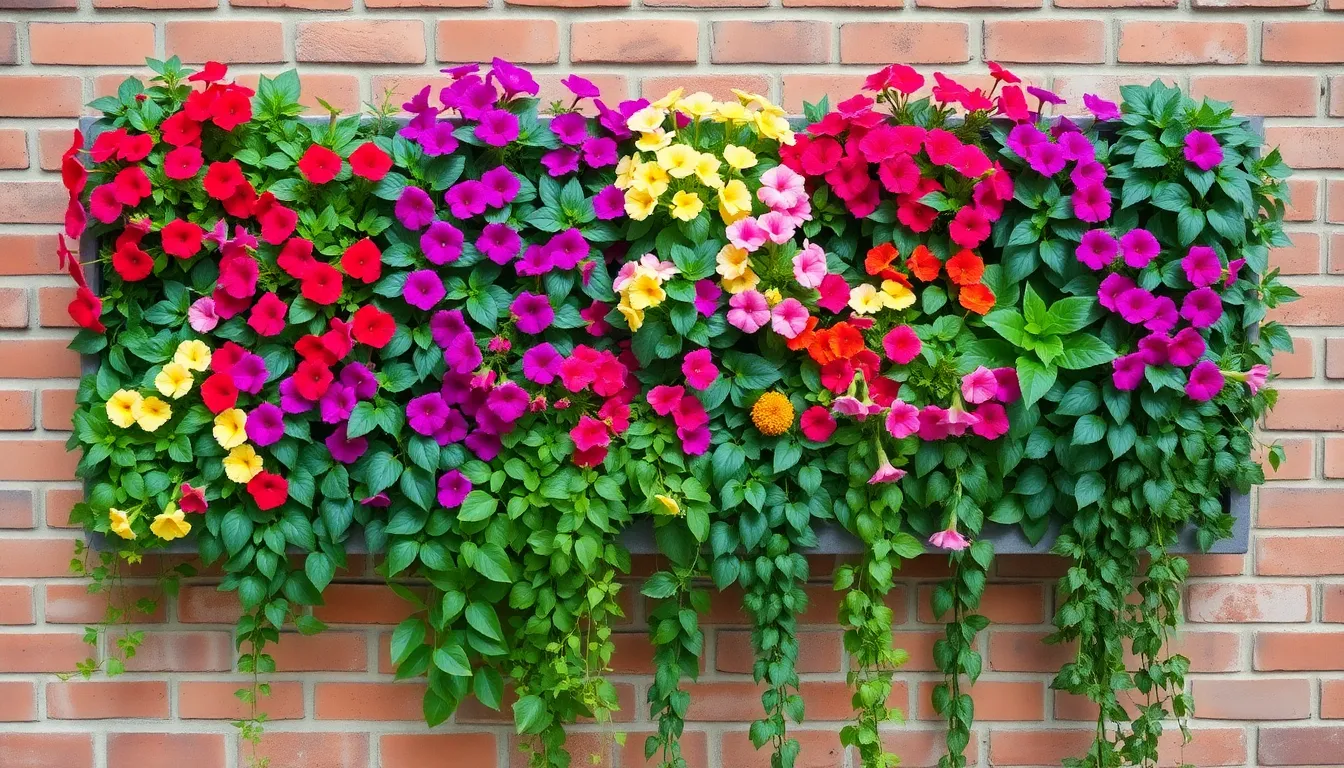
Selecting the right plants for your wall planters makes the difference between a thriving vertical garden and a maintenance headache. Light exposure determines which varieties will flourish in your exact location, so we’ll examine plants that excel in both sunny and shady conditions.
Best Flowering Varieties for Vertical Gardens
Petunias deliver continuous blooms throughout the growing season and cascade beautifully from wall planters. Their trumpet shaped flowers come in vibrant colors like purple, pink, and white, creating stunning vertical displays in sunny locations.
Fuchsias produce elegant drooping flowers that add sophistication to shaded wall gardens. These plants prefer cooler temperatures and indirect sunlight, making them perfect for north facing walls or covered patios.
Black-eyed Susan vine creates a cheerful display with its bright yellow flowers and dark centers. This fast growing annual climbs and trails naturally, filling wall planters quickly while attracting beneficial pollinators to your vertical garden.
Snapdragon vine offers delicate tubular flowers in soft pastels that complement any outdoor color scheme. These trailing varieties work exceptionally well in medium sized wall pots where their cascading habit can be fully appreciated.
Bacopa produces tiny white or lavender flowers that create a cloud like effect in wall planters. This low maintenance annual thrives in both sun and partial shade, making it versatile for various wall locations.
Lobelia adds intense blue color to vertical gardens with its compact growth habit and profuse blooming. These plants prefer cooler weather and consistent moisture, making them ideal for spring and fall displays.
Trailing geraniums provide bold red, pink, or white flowers that cascade dramatically from wall mounted containers. Their drought tolerance and heat resistance make them excellent choices for sunny, exposed wall locations.
Low-Maintenance Succulent Options
Echeverias form perfect rosettes in shades of blue, purple, and green that create living sculptures on vertical walls. These drought tolerant plants require minimal watering and thrive in the shallow soil conditions typical of wall planters.
Sedums offer diverse textures and colors while spreading naturally to fill wall containers. Their thick, fleshy leaves store water efficiently, making them ideal for busy gardeners who can’t maintain consistent watering schedules.
Hens and chicks produce fascinating geometric patterns as they multiply and spread throughout wall planters. These hardy succulents tolerate extreme temperature fluctuations and require virtually no maintenance once established.
String of pearls creates an otherworldly cascading effect with its bead like leaves trailing from wall mounted containers. This unique succulent thrives in partial shade and adds textural interest to vertical garden compositions.
Jade plants develop into miniature trees in wall planters, providing structure and year round interest. Their glossy leaves and occasional pink flowers make them attractive focal points in succulent wall arrangements.
Trailing Plants for Dramatic Effect
English ivy creates lush green cascades that soften hard wall surfaces while providing consistent color year round. This vigorous grower adapts to various light conditions and quickly establishes dramatic trailing displays in wall planters.
Pothos delivers heart shaped leaves in golden green variegations that brighten shaded wall locations. These low maintenance vines tolerate irregular watering and thrive in bright indirect light, making them perfect for covered outdoor areas.
Philodendron varieties offer glossy foliage in various shapes and sizes that create tropical effects in wall gardens. Their fast growth rate and adaptability to different light conditions make them reliable choices for vertical plantings.
Potato vines produce colorful foliage in chartreuse, purple, or variegated patterns that add bold color without requiring flowers. These heat tolerant annuals grow rapidly and create impressive trailing displays throughout the growing season.
Snapdragon vine combines trailing habit with delicate flowers, providing both foliage and blooms in wall planters. This versatile plant adapts to various growing conditions while maintaining its attractive cascading form.
Creeping jenny spreads quickly to create golden carpets that spill from wall containers. Its bright chartreuse color provides striking contrast against darker wall surfaces and maintains its vibrant appearance in partial shade.
Maximize Space with Creative Wall Pot Layouts
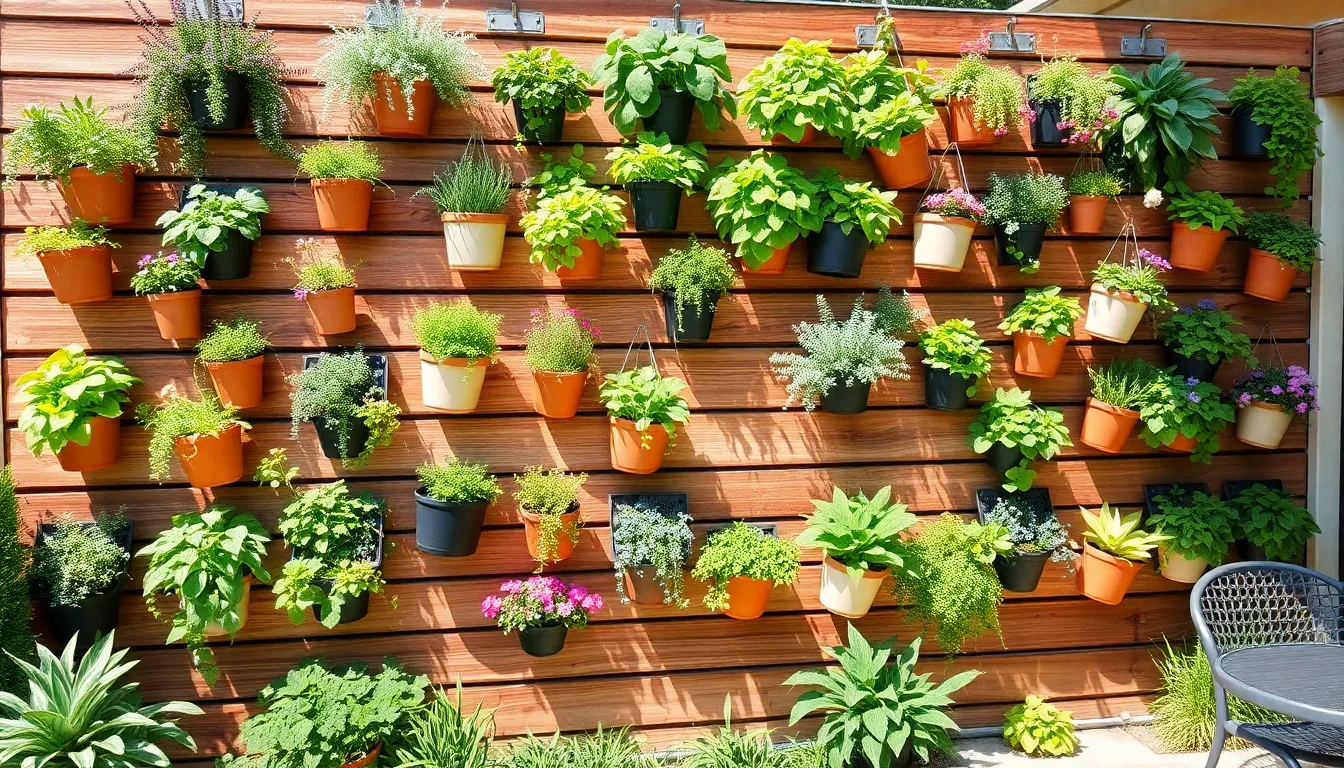
Transforming vertical surfaces into thriving garden displays requires strategic planning that goes beyond simple plant selection. We’ll explore proven layout techniques that turn ordinary walls into stunning focal points while maximizing every square inch of available space.
Geometric Arrangement Patterns
Grid patterns create instant visual order while providing the most efficient use of wall space. Square and rectangular grids work exceptionally well for herbs like basil, thyme, and oregano, giving you easy access to cooking ingredients. AgroSci’s GardenWall kits offer customizable planting pockets arranged in grid formations that create lush, uniform displays across any wall surface.
Hexagonal arrangements maximize coverage by eliminating wasted space between containers. Honeycomb patterns fit pots together seamlessly, creating ever-changing visual interest that draws the eye upward. These layouts work particularly well with succulents like echeveria and sedum, where the geometric precision complements their structured forms.
Symmetrical shapes add artistic flair to functional gardening spaces. Circular, diamond, and triangular arrangements serve as natural focal points on patios and garden walls. We’ve found that these patterns work best when anchored with a central statement plant surrounded by complementary species in smaller containers.
Mixed-Size Display Techniques
Combining large and small containers creates natural depth that mimics organic garden growth patterns. Larger pots anchor your design while smaller vessels fill gaps and add textural contrast. This approach works especially well when growing a mix of trailing petunias in large planters with compact herbs in smaller pots.
Vertical tiering utilizes height effectively by hanging baskets and pots at varying elevations. Wrought iron wall baskets provide sturdy mounting options for flowers and trailing plants across multiple size categories. Installing containers at three distinct levels creates a cascading effect that maximizes planting area while maintaining visual balance.
Layered shelf systems expand growing capacity by creating multiple planting zones on a single wall. Floating shelves accommodate different pot sizes while encouraging natural tiered garden effects. This technique proves particularly valuable for small balconies where floor space remains limited but wall area offers abundant growing potential.
Corner and Edge Utilization
Corner wall planters transform neglected spaces into productive growing areas that soften sharp architectural lines. L-shaped installations wrap around building corners, creating continuous garden flow that connects separate outdoor zones. These areas often receive unique light conditions that support exact plant varieties like fuchsias in partially shaded corners.
Edge alignments frame outdoor spaces by positioning pots along fence lines, patio borders, and pathway margins. Linear arrangements of containers create living borders that define spaces without blocking views or foot traffic. We recommend using consistent pot sizes along edges to maintain clean sight lines while varying plant heights for visual interest.
Wraparound layouts envelop spaces completely using corner-to-corner installations that immerse visitors in greenery. These comprehensive designs work particularly well with trailing plants like English ivy and pothos that create dramatic cascading effects. Strategic placement around seating areas transforms ordinary patios into garden rooms surrounded by vertical growing walls.
Weather-Proof Your Wall Pot Garden
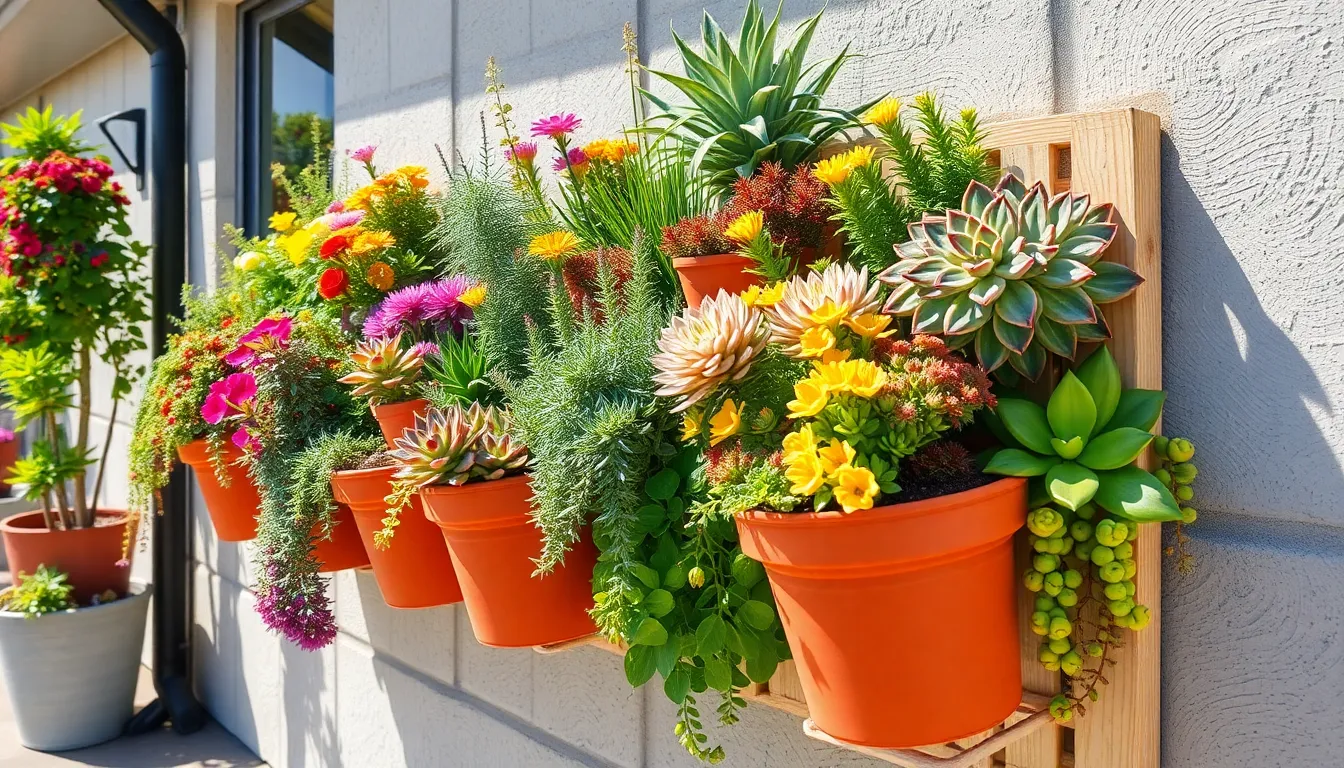
We need to protect our vertical gardens from nature’s challenging elements throughout the year. Creating a resilient wall pot garden requires strategic planning for seasonal weather changes and environmental stressors.
Winter Protection Strategies
Insulation becomes our first line of defense against freezing temperatures that can damage plant roots and crack containers. We recommend choosing planters with thick walls and good insulation properties to buffer temperature fluctuations. Grouping consistent plantings in pockets helps create beneficial microclimates that shelter vulnerable species from harsh winter conditions.
Drainage systems require special attention during cold months to prevent waterlogging that can freeze and damage root systems. We ensure our wall pots have adequate drainage holes to allow excess moisture to escape before temperatures drop. Selecting hardy plants that naturally tolerate cold reduces the risk of winter losses, while bringing more sensitive species indoors during frost periods extends their survival rate.
Clustering techniques provide mutual protection when we position wall planters closely together during winter months. This arrangement creates warmer microzones and reduces individual exposure to harsh winds and temperature drops.
Summer Heat Management
Heat tolerance becomes critical when wall mounted containers face direct sun exposure and limited soil volume that heats up quickly. We choose sun loving, drought tolerant plants such as succulents, herbs, and flowering varieties like petunias for walls that receive intense sunlight. These species naturally adapt to hot conditions and require less frequent watering.
Moisture retention systems help maintain hydration during scorching summer days when containers dry out rapidly. We select planters that retain moisture without becoming waterlogged and incorporate self watering designs where possible to provide consistent hydration. Using materials like recycled plastics with aerated pockets allows airflow while maintaining necessary moisture levels.
Strategic plant placement creates natural cooling when we rotate or mix trailing plants like ivy to provide shading for root zones. This technique helps regulate soil temperature and reduces water evaporation from exposed container surfaces.
Wind Resistance Answers
Secure mounting hardware forms the foundation of wind resistant wall gardens that can withstand strong gusts without dislodging. We use sturdy wall pockets with reliable fixing systems including grommets or heavy duty hooks that distribute weight evenly across mounting points. Testing weight capacity before adding plants ensures our installations can handle both static loads and ever-changing wind forces.
Plant selection affects wind vulnerability when we choose compact, low profile species that resist wind damage better than tall or fragile varieties. Avoiding overly delicate plants reduces the risk of breakage during storms and high wind events.
Grouping strategies provide mutual support when we position planters closely together to reduce individual wind exposure. This clustering technique creates wind breaks that protect interior containers while maintaining the overall stability of our vertical garden arrangement.
Conclusion
Wall pots for plants outdoor offer an incredible opportunity to transform any vertical surface into a thriving garden sanctuary. We’ve explored everything from material selection to installation techniques that’ll help you create a stunning vertical display.
The key to success lies in matching the right pot size and drainage system to your exact plants while ensuring secure mounting for long-term stability. Remember that proper planning and seasonal maintenance will keep your wall garden flourishing year-round.
Whether you’re working with a tiny balcony or expansive patio walls your vertical garden can become the showstopping focal point you’ve always wanted. Start small experiment with different arrangements and watch as your outdoor space transforms into a living masterpiece that brings joy throughout every season.
Frequently Asked Questions
What are the main benefits of using wall pots in outdoor spaces?
Wall pots transform bland outdoor walls into vibrant living galleries while maximizing space efficiency. They create eye-catching focal points without taking up valuable floor space, making them perfect for small balconies or large patios. These versatile containers allow you to build personalized vertical gardens that enhance your outdoor aesthetic.
Which materials are best for outdoor wall planters?
Ceramic and terra cotta offer excellent breathability and suit traditional garden styles. Weather-resistant plastic provides durability and cost-effectiveness for budget-conscious gardeners. Metal planters offer superior structural integrity and heat retention properties. Choose materials based on your local weather conditions, maintenance preferences, and desired aesthetic appeal.
How do I choose the right size wall pot for my plants?
Small pots (under 0.31 quarts) work best for herbs and succulents. Medium containers (0.31-3.1 quarts) suit flowering plants and small vegetables. Large planters (3.1-46.9 quarts) accommodate substantial plants like rosemary bushes and dwarf fruit trees. Always choose planters at least 2 inches wider than your plant’s current container.
Why is proper drainage important in wall pots?
Proper drainage prevents waterlogged roots that can kill plants. Essential drainage systems include built-in holes for water escape, removable liners for easy cleaning, and self-watering planters with reservoirs. Good drainage ensures healthy root growth and prevents root rot, which is especially critical in wall-mounted containers.
How do I safely mount wall pots?
Calculate the combined weight of planter, soil, and mature plants before installation. Distribute mounting points evenly across the wall surface to prevent hardware stress. Choose appropriate fasteners based on wall type (drywall, brick, or concrete) and always test weight capacity before planting to ensure long-term stability.
What plants work best in wall-mounted containers?
For sunny spots, choose flowering varieties like petunias, fuchsias, and black-eyed Susan vines. Low-maintenance succulents such as echeverias and sedums excel in drought conditions. Trailing plants like English ivy and pothos create dramatic cascading effects that enhance vertical garden appeal and visual interest.
How often should I water wall-mounted plants?
Wall-mounted containers dry out faster than ground planters, requiring more frequent watering. Water thoroughly until drainage occurs, preferably in the morning. Cluster pots together to create beneficial shade and humidity. Monitor soil moisture daily, especially during hot weather, and adjust watering frequency accordingly.
How can I protect my wall garden from weather extremes?
Use insulated planters and ensure proper drainage to prevent winter freezing damage. For summer heat, select drought-tolerant plants and implement moisture retention systems. Install secure mounting hardware and choose compact plants to withstand strong winds. Plan seasonal plant rotations to maintain year-round garden health.
What are effective layout strategies for wall pot arrangements?
Create visual interest using geometric patterns like grid or hexagonal layouts for efficient space utilization. Mix large and small containers to add depth and texture. Utilize corner and edge spaces for maximum growing area. Stagger pot heights to create attractive cascading effects throughout your vertical garden.
How do I maintain my wall garden throughout the seasons?
Use slow-release fertilizers supplemented with water-soluble options based on growth patterns. Refresh soil seasonally and prune plants for optimal health. Plan seasonal plant transitions to maintain continuous color and interest. Regular maintenance ensures your vertical garden remains vibrant and thriving year-round.

