You’ll build a pergola successfully by starting with pressure-treated lumber and careful site measurements—sketch your design and mark post locations according to local frost depths and building codes. Next, you’ll dig six post holes roughly 30 inches deep, set posts plumb with temporary bracing, then secure cross beams with galvanized bolts. Finally, you’ll attach rafters the same way and seal everything with weatherproofing finish. The specifics of each phase, however, reveal critical details that determine whether your structure lasts decades or fails prematurely.
Step 1: Choose Materials and Measure Your Site
Before you break ground or drive a single fastener, you’ll want to settle on materials and take careful measurements of your site—decisions that’ll shape everything that follows. Start by selecting pressure-treated lumber, which resists rot and weathering in outdoor structures, then consider a brown stain if it matches your decor preference. Next, measure your desired pergola area carefully, sketching your design on paper or using Google SketchUp to visualize dimensions like 12 by 36 feet. Determine where you’ll dig post holes by marking locations on your site plan, accounting for frost depth and local building codes. This planning phase, though it demands patience, prevents costly mistakes and ensures your measurements align with ground conditions and drainage requirements.
Step 2: Set Posts and Install Cross Beams
With your site measured and materials gathered, you’re ready to transform those sketches into standing structure—and this is where your pergola actually takes shape. You’ll dig six post holes, roughly 24 inches wide and 30 inches deep, adjusting for your specific ground conditions. Add gravel at the bottom for drainage, then set each post plumb on all sides using a long level and temporary 1×2 support pieces. Align posts with stakes and masonry line before pouring concrete to cure and secure them permanently. Next, mark where your cross beams meet the posts. Using 2x3x12 braces to hold beams temporarily in place, drill through with a long auger bit, then fasten everything together with galvanized bolts, washers, and nuts tightened securely.
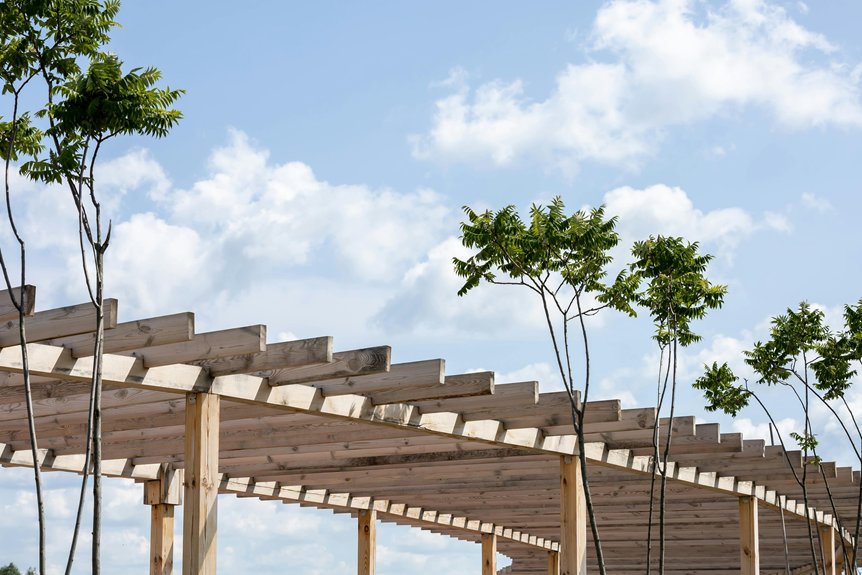
Step 3: Attach Rafters, Seal, and Customize
Once your posts and cross beams stand plumb and secure, the rafters transform your pergola from an open framework into something that’ll actually provide shade and visual interest. You’re now entering the phase where structural integrity meets aesthetic purpose.
Begin by marking rafter locations on your beams, then temporarily brace them with 2×3 stakes. Your attachment strategy involves:
- Drilling through rafters and posts with a long auger bit
- Inserting galvanized bolts with washers and nuts
- Aligning rafters perpendicular to beams at perfect 90-degree angles
- Notching lower rafters for decorative end patterns
- Installing purlins or lattice cluster components
After bolts are tightened securely, seal all wood with weatherproofing finish. This final step protects your investment, ensuring your pergola remains a reliable gathering space for years ahead.